I hope you’re all doing wonderful today. Sending a warm hello and my heartiest greetings to each and every one of you. It’s so good to be back with another update!
Today’s post is a bit special. If you remember, we recently talked about designing creative prompts for “Sunday Worship” posters. Well, today we’re diving deep into exactly how to do that, but with a massive twist you didn’t see coming.
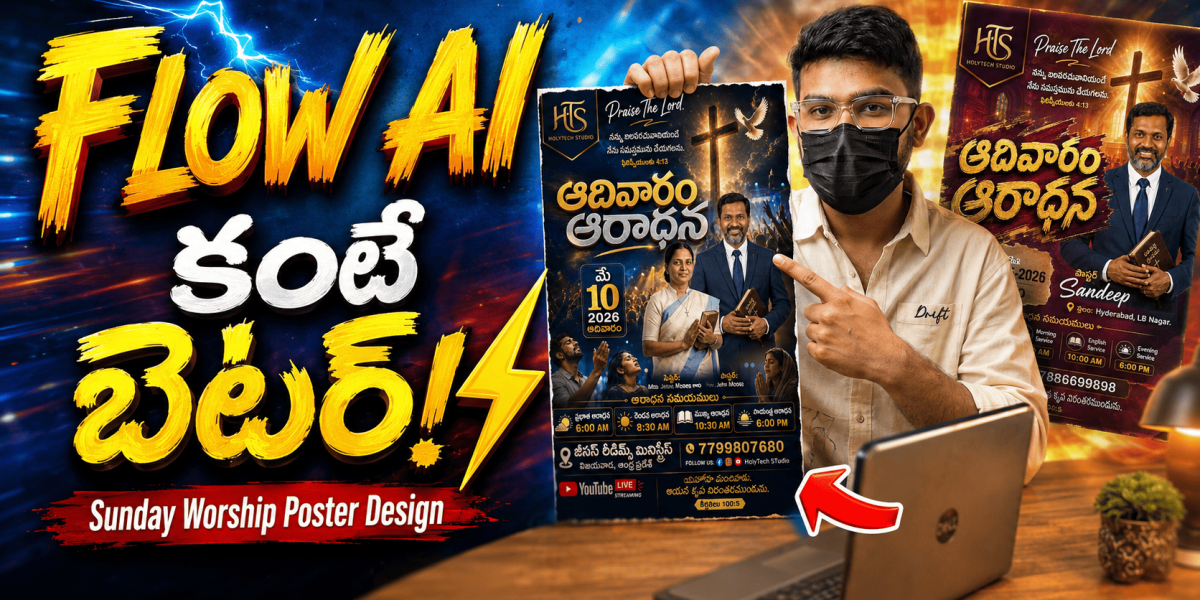
The Big Reveal: Moving Beyond the Usual
“Most of us have been using Flow AI for our designs, right? It’s been our go-to. But honestly? I stumbled upon a new AI tool that is genuinely a game-changer. The results this thing pumps out are so much better than what we’ve seen before—I was actually floored when I saw the first few renders.
I’ve put together a full walkthrough of the process, so make sure you stick around until the very end. You don’t want to miss the specific settings that make these posters pop!”
A Small Favor (Let’s Grow Together!)
“Before we get into the “how-to,” I have a small request. If you find these tips helpful and want to see more tech-meets-ministry content.
Also, I’d love to hear from you in the comments! Tell me what you think of these designs or what you’re struggling with. Your feedback isn’t just motivation for me—it actually helps me figure out how to make this channel better for all of you.”
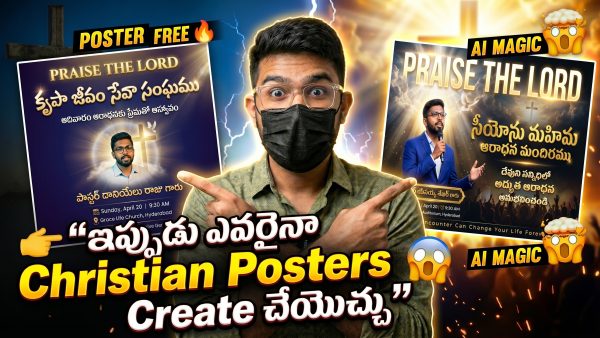
First Look: The Designs
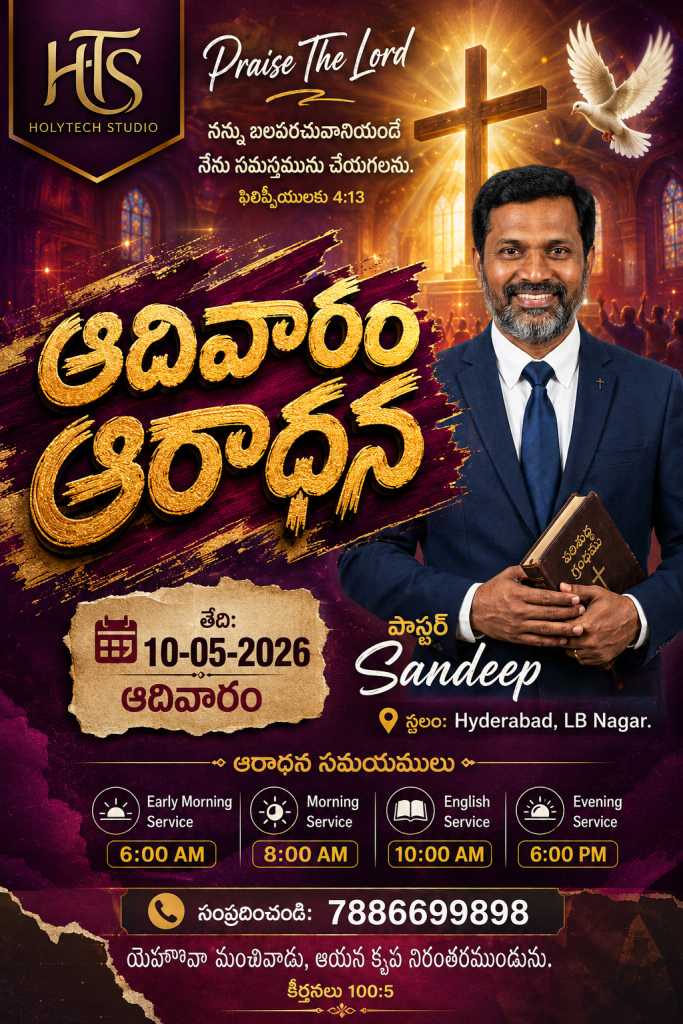
Prompt-1 (Poster Design)
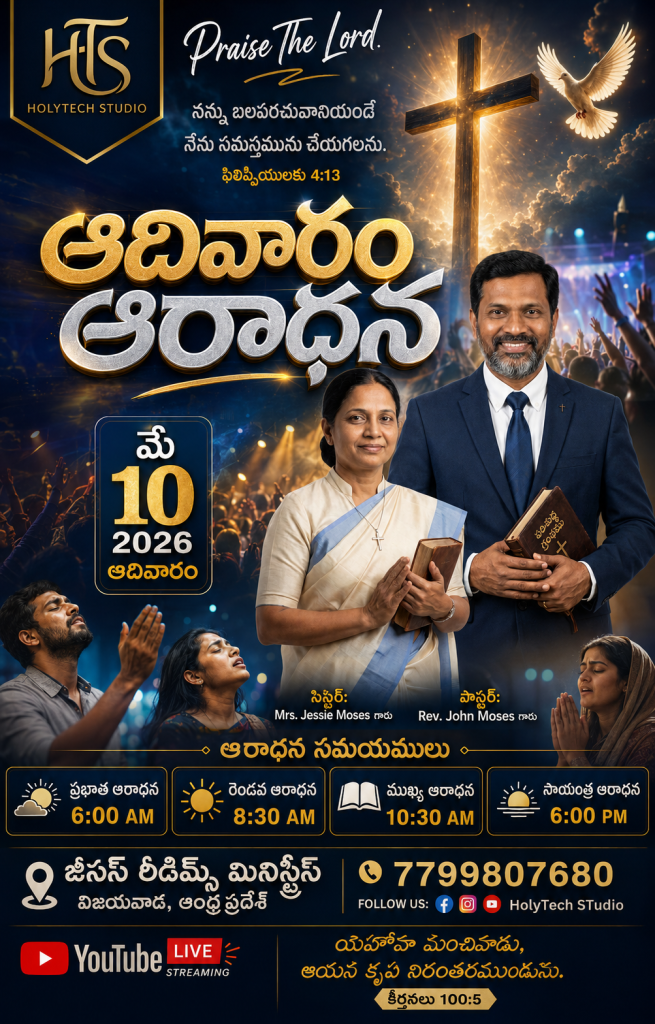
Prompt-2 (Poster Design)
Now, let’s get to the good stuff. The beauty of the prompts I’m sharing today is that they are incredibly versatile—you can use them anywhere, anytime.
Just take a look at the screen:
Vibrant colors
Unique layouts
Professional-grade quality
It’s hard to believe these were made in just a few minutes, right? I’m going to break down the entire process step-by-step so you can recreate this exact quality for your own church or ministry.
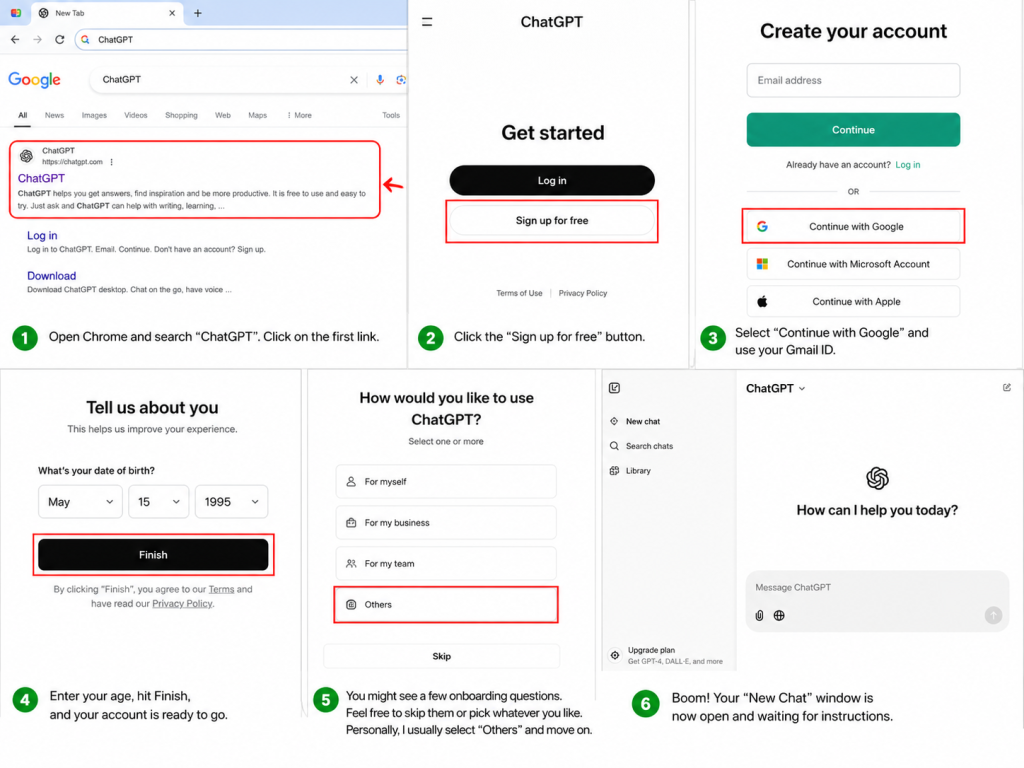
Step 1: Setting Up Your ChatGPT Account
“First things first, fire up your Chrome browser and simply type “ChatGPT” into the search bar. Click on the first link that pops up, and you’ll see a clean, simple interface.
To get started:
Click the “Sign up for free” button.
Pro Tip: Don’t bother with long forms. Just select “Continue with Google” and use your Gmail ID—it’s much faster.
Enter your age, hit Finish, and your account is ready to go.
You might see a few onboarding questions. Feel free to skip them or pick whatever you like. Personally, I usually select “Others” and move on.
Boom! Your “New Chat” window is now open and waiting for instructions”
Step 2: Where to Find My Special Prompts
“I know finding the right prompts can be a headache, so I’ve made it super easy for you. I’ve uploaded everything directly to our website so my subscribers don’t have to hunt for them.
You can find the link pinned in the description or the comments section. If you’d rather type it in yourself, just head over to daily365ai.com.”
Step 3: Navigating Holytech Studio
“Once the website loads, look for the “Holytech Studio” section and click on it. This is where I keep all the detailed blogs for our channel’s projects.
Since we’re working on the “Sunday Worship Poster” today, look for that specific blog post and open it up.”
💡 Cool Feature: Language No Bar!
“If you find the English instructions a bit confusing, don’t worry. We’ve added a Translate option at the top. Just select “Telugu” (or your preferred language), and the entire page will instantly switch. It makes following along so much easier!”
Step 4: Grabbing Your Prompt
“Scroll down the page until you see the “Get Prompt” button.
Click the button.
A small timer will start—just hang tight for about 30 seconds.
Once the timer hits zero, your prompt will load automatically.
You can follow the same steps to grab the second prompt as well.”
Step 5: Bringing it All Together
“Now for the fun part! Copy the prompt you just got and head back over to your ChatGPT window. Paste it into the chat box.
In the next section, I’ll show you how to make some tiny edits to the prompt so the final result looks exactly how you want it. Let’s get creative!”
Let’s jump into the tutorial!
Alright, let’s dive straight in! No more waiting—here is your step-by-step guide on how to tweak this prompt to get the perfect result. Follow along closely!
Step 1: The Top Section
“Right at the very top, you’ll see the text “Praise the Lord.” Honestly? You don’t need to touch this. It’s a classic opening, so just leave it exactly as it is.”
Step 2: Choosing Your Bible Verse
“Just below that, I’ve placed a placeholder for a Bible Verse. This is where you can get personal. Whether it’s a verse that matches your specific sermon or just your favorite scripture for the day, simply swap it out. It’s super easy to customize.”
Step 3: The Main Title
“For the central title, I’ve used “Sunday Service” (ఆదివార ఆరాధన). Now, this is totally up to you—you can keep it in Telugu if you love that traditional look, or switch it over to English if that fits your church’s vibe better.”
Step 4: Pastor’s Details & Photo
“If you look over to the right side, you’ll see a placeholder for the Pastor’s photo. All you need to do is upload your own photo there and update the name underneath. It instantly makes the poster look official.”
Step 5: Location, Date & Day
“Next up, let’s handle the logistics. Make sure to clearly enter your Church Location and the specific Date and Day of the program. You want to make sure your congregation knows exactly where and when to show up!”
Step 6: Setting the Service Timings
“I’ve included four different timing slots here. Every church has a different rhythm, so feel free to customize these to match your specific Sunday schedule.”
Step 7: The Finishing Touches (Footer)
“Finally, let’s wrap up the bottom section. Add your Contact Number, a quick Invitation Verse, and don’t forget to upload your Church Logo. This really pulls the whole design together.”
Step 8: Last Uploading Pastor Photo & Ministry Logo (Ending)
“Alright, let’s get those visuals sorted! Honestly, uploading your images is probably the easiest part of this whole setup. It’s a “blink-and-you’ll-miss-it” kind of process, but here’s the quick rundown so you get it right the first time.
Step-by-Step: Adding Your Photos
First things first, look for that ‘+’ (Plus) button staring at you on the screen. Give it a quick click.
Once you do that, a menu will pop up—go ahead and select the ‘Add Photos and Files’ option. Easy, right?
A Quick Pro-Tip on the Order
Now, here’s a tiny detail that makes a big difference for the layout. To keep things looking sharp and professional, make sure you upload them in this specific order:
The Pastor’s Photo: This should always go in first.
The Ministry Logo: Add this right after.
Doing it in this order ensures everything sits exactly where it’s supposed to. And that’s it! You’re all set to move on to the next part.”
The Big Reveal!
“Once you’ve double-checked everything, just hit that Arrow Mark button. Now, give it about two minutes—grab a sip of water, be a little patient…”
And wow! Just look at that!
“Check out how beautiful this poster turned out. It’s stylish, it’s unique, and honestly? It looks like it was created by a high-end professional graphic designer. You’d never guess it only took us a few clicks!”
Moving on to Poster #2
“Now, let’s switch gears and talk about our second poster option. The great thing about this specific prompt is that you can also use it in the older Flow AI version.”
Step 2: Customizing Your Design with Prompt #2
“Now that we’ve got the basics down, let’s dive into our Second Prompt. This is where the real magic happens. If you’re following along, here’s how to get everything set up and looking professional in just a few clicks.”
Getting Your Prompt
“First things first, head back over to our website. Look for the ‘Prompt 2’ section and hit that ‘Get Prompt’ button. You’ll need to hang tight for about 30 seconds while the prompt loads—perfect time to grab a sip of coffee! Once it pops up, just copy it and paste it into our AI tool (or ChatGPT).”
Making It Your Own (Customization)
“Don’t worry, you don’t need to be a graphic designer to make this look great. We’re going to tweak a few things step-by-step:
The Text: I’d suggest keeping the ‘Praise the Lord’ text as it is, but feel free to get creative with the ‘Sunday Worship’ title. You can keep it in English or change it to Telugu—whatever fits your ministry’s vibe best.
The Visuals: This is the most important part! Click the Plus (+) button to upload your photos. I usually go with a photo of the Pastor for the first slot and the Sister for the second. For the third option, don’t forget to drop in your Ministry Logo to keep things on-brand.
The Fine Print: Go ahead and update the Bible verse, the date, and the service timings. Make sure they match your church’s actual schedule so nobody shows up at the wrong time!
Personal Touches: Double-check the names! Swap out the placeholder names for the Pastor and Sister, and definitely update the contact info. You’ll see my channel name near the social media icons—be sure to replace that with your own Ministry Name.”
The Big Reveal
“Once you’ve cross-checked everything and it looks good, it’s time to let the AI do the heavy lifting. Click that Arrow Mark and give it about two minutes.
And… boom! You’ve got a stunning, professional-grade poster ready to share. It’s honestly amazing how something so grand and high-quality can be put together this simply. Give it a try and see for yourself!”
Sunday Poster Prompt’s
Prompt-1 (First Poster)
📝 AI PromptAI Prompt
🔒
Prompt is Locked
Click the button below and wait 30 seconds to reveal the prompt.
30
Generating prompt...
Please wait while we prepare your prompt
💡 Tip: Read the article while you wait!
Prompt-2 (Second Poster)
📝 AI PromptAI Prompt
🔒
Prompt is Locked
Click the button below and wait 30 seconds to reveal the prompt.